Signing commits in Git verifies the authenticity and integrity of your commits, confirming they were made by you and have not been tampered with. On Windows, you can use SSH Agent to set up commit signing with minimal effort. Here's how.
First, you need to install SSH on Windows. Open a PowerShell window as an administrator and run the following command to install the OpenSSH client:
PowerShell
Add-WindowsCapability -Online -Name OpenSSH.Client
You can check the status by running the following command:
PowerShell
Get-WindowsCapability -Online | Where-Object Name -like 'OpenSSH.Client*'
 OpenSSH.Client is set up
Now, you can create your SSH key pair. Run the following command in PowerShell Core:
PowerShell
$passphrase = Read-Host -Prompt "Enter passphrase" -AsSecureString
$KeyName = "git"
ssh-keygen -t ed25519 -C $KeyName -N (ConvertFrom-SecureString -AsPlainText $passphrase)
 ssh-keygen commands
To avoid entering the passphrase every time you use the key, you can add it to SSH Agent. First, start the SSH Agent service and set it to start automatically:
PowerShell
Set-Service -Name ssh-agent -StartupType Automatic
Start-Service ssh-agent
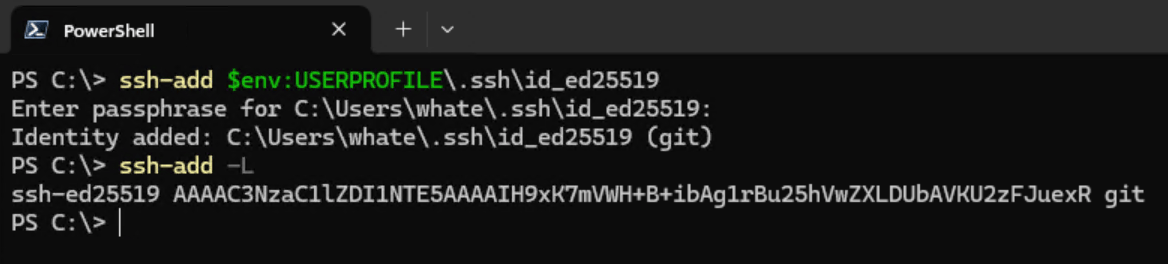
Then, you can add the key to the SSH Agent:
PowerShell
ssh-add $env:USERPROFILE\.ssh\id_ed25519
You can validate that the key is added by running the following command. It should display the public key:
PowerShell
ssh-add -L
Optionally, you can delete the private key file since it is now stored in SSH Agent, which persists keys across sessions and reboots.
Let's configure Git to use the SSH key for commit signing. First, you need to install Git. You can use winget to install it:
PowerShell
winget install --id Git.Git --exact
Finally, configure Git to use the SSH key for signing commits. Run the following commands in a PowerShell window:
PowerShell
# Use the SSH key for signing
git config --global user.signingkey (Get-Content $env:USERPROFILE\.ssh\id_ed25519.pub)
git config --global gpg.format ssh
git config --global gpg.ssh.program (Get-Command ssh-keygen.exe).Source
git config --global core.sshCommand (Get-Command ssh.exe).Source

# Sign commits and tags by default
git config --global commit.gpgsign true
git config --global tag.gpgsign true
The last step is to register the SSH key with your Git provider. You can find the public key in the .ssh folder in your user profile directory. Copy the contents of the id_ed25519.pub file and add it to your Git provider.
- GitHub: https://github.com/settings/ssh/new
- GitLab: https://gitlab.com/-/user_settings/ssh_keys
For GitHub, you can also use GitHub CLI to add the key:
PowerShell
gh ssh-key add $env:USERPROFILE\.ssh\id_ed25519.pub --title git --type signing
 GitHub - SSH key for commit signing
#Verifying the commit signature
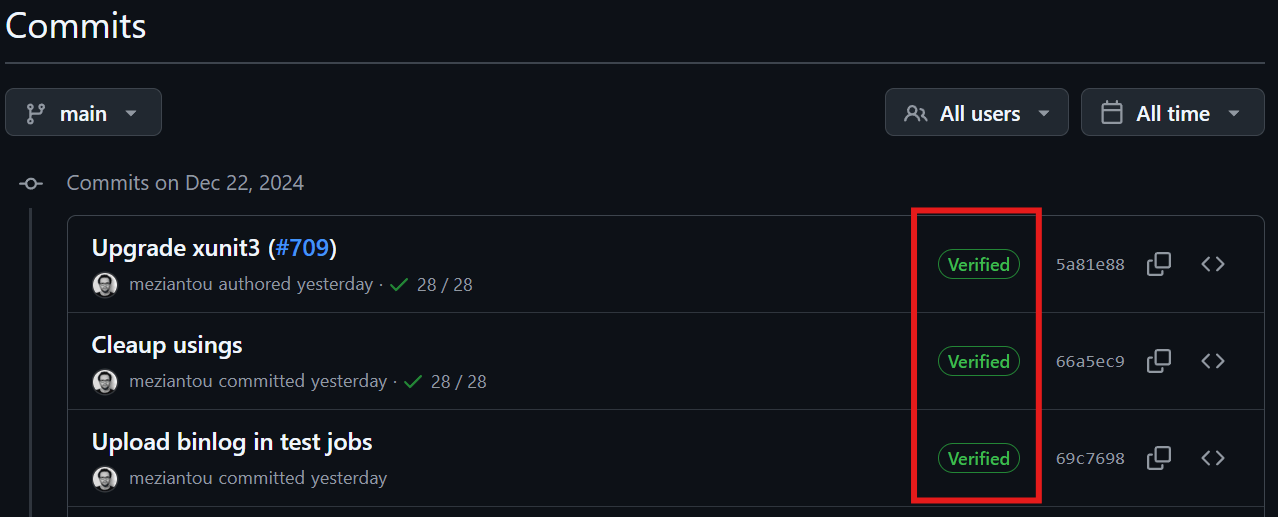
You can validate the setup by creating an empty commit and signing it:
PowerShell
git commit --allow-empty --message="Testing SSH signing"
On GitHub, you should see a "Verified" badge next to the commit message:
You can also validate the signature locally. First, you need to add your SSH key to the list of allowed signers:
PowerShell
git config --global gpg.ssh.allowedSignersFile $env:USERPROFILE/.ssh/allowed_signers

$email = (git config user.email)
$key = (Get-Content $env:USERPROFILE/.ssh/id_ed25519.pub)
$signer = "$email $key"
echo $signer | Out-File $env:USERPROFILE/.ssh/allowed_signers -Append
Then, you can validate the signature of the commit:
PowerShell
git show --show-signature
 Show valid signature
This setup lets you validate commits you created using your SSH key. If you want to validate the commits signed by other people, you'll need to add their key to the allowed_signers file. For GitHub, you can query SSH keys using the GitHub API:
PowerShell
gh api /users/meziantou/ssh_signing_keys
Then, you can add the key to the allowed_signers file and run the previous command to validate the signature.
Do you have a question or a suggestion about this post? Contact me!