When managing a Linux server from Windows, you need an SSH client. In the past, the go-to solution was Putty. Today, there are two better built-in options.
#Method 1: Using the new SSH Client feature (beta)
In the Fall Creators Update (Windows 10 10.0.16299), two new optional features were added: SSH client and SSH server. These features allow you to use the OpenSSH client and server on Windows, thanks to the port of OpenSSH to Win32 (GitHub).
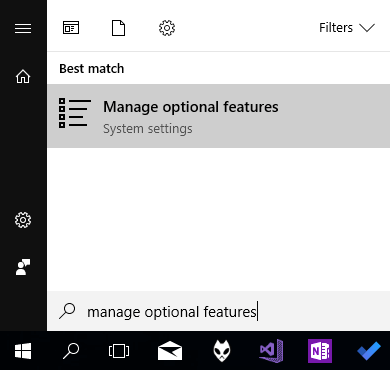
Open Manage Optional Features:
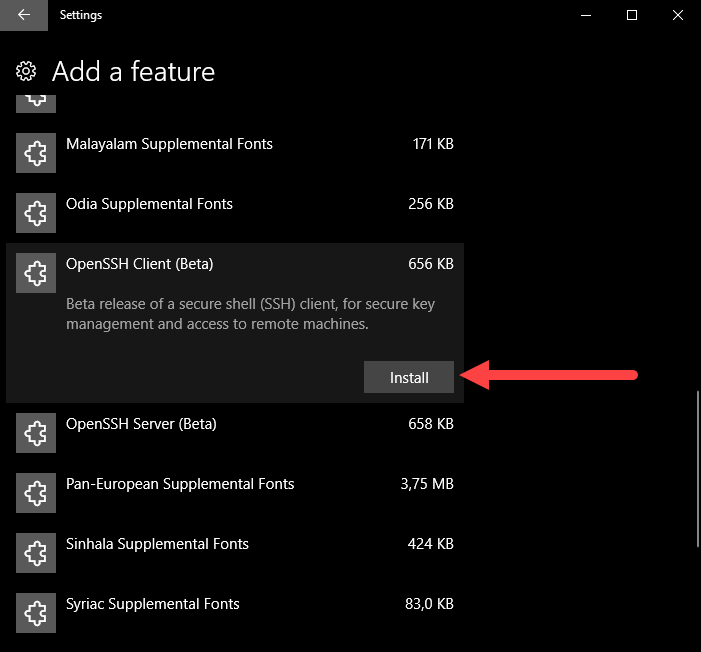
Click "Add a feature"

Select "OpenSSH Client (beta)" and click "Install"
Restart your computer
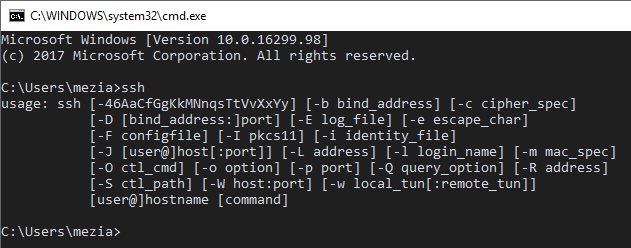
Open a command prompt and use ssh
Note that this feature is still in beta, so you may encounter some issues.
#Method 2: Using Windows Subsystem for Linux (WSL)
The Windows Subsystem for Linux lets you run Linux applications directly on Windows, unmodified, and without the overhead of a virtual machine, including the SSH client.
Open PowerShell as Administrator and run
Shell
Enable-WindowsOptionalFeature -Online -FeatureName Microsoft-Windows-Subsystem-Linux
Restart your computer
Run bash and follow the configuration steps
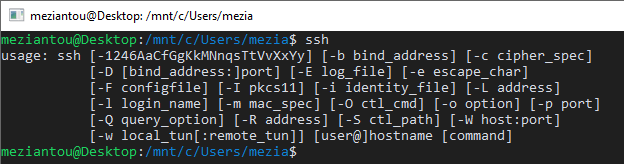
Use ssh
If you have any issues configuring WSL, you can follow the Microsoft documentation
Do you have a question or a suggestion about this post? Contact me!