When you first open a solution, pressing F5 should start the right project. In a multi-project solution, you want the application project (web or desktop) set as the startup project, not a library. You can change the startup project manually using the context menu or the project dropdown menu:

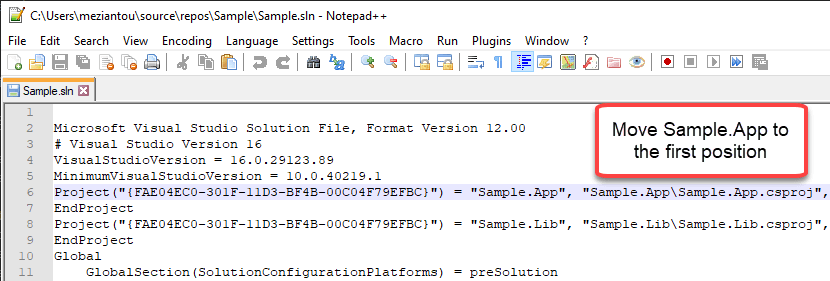
Visual Studio selects the first project in the solution as the startup project unless you change it manually. To ensure your solution is well configured on first use, reorder the projects in the sln file by moving the desired project to the top:
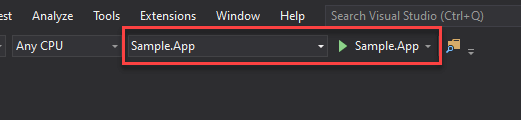
When you reopen the solution in Visual Studio, the application project will be the startup project:
It's a small change, but it makes a real difference when you clone a repository and open the solution in Visual Studio for the first time.
If you're using the newer .slnx format (default in Visual Studio 2026), you can explicitly set the startup project using the DefaultStartup attribute:
XML
<Solution>
    <Project DefaultStartup="true" Path="MainProject.csproj" />
    <Project Path="AnotherProject.csproj" />
</Solution>
This approach is more explicit and reliable than reordering projects in the traditional .sln format. Note that this attribute only defines the default startup project when the solution is first opened. Users can still change the startup project manually afterward, and the selection is persisted in the .suo file.
Learn more about defining the default startup project in slnx
This post is part of the series 'Visual Studio Tips and Tricks'. Be sure to check out the rest of the blog posts of the series!
Do you have a question or a suggestion about this post? Contact me!